
In conjunction with putting this pillow pattern on my Etsy Shop, I wanted to publish this tutorial on making a pillow slipcover with a piped edge (which will be included as a link in this and other pillow patterns.) I have made dozens of these. Why buy a new pillow when you can slipcover an old one for a fraction of the cost?
The pillow pictured above is called "Coastal Currency".
So ... assuming you have a completed this pillow top, or another of your own design ... or just a some fabulous fabric to cover your pillow ... here goes:
The square you are working with for a pillow top should be 1" larger than the measurement of the pillow form you plan to stuff it with. The pillow above is for an 18" square pillow and I made the dimensions of the completed top to be 19" square. If you are not adding piping, then it can measure just 1/2" more.

The piping I work with looks like this. Because we are planning to cover it then it doesn't need any attached edge. The point in covering it is that YOU apply the attachment in the very fabric you want.
This piping is 1/4" wide and my personal preference. The measurements below are to cover 1/4" piping.
This stuff is very cheap. I recommend getting it at Home Fabrics. Sometimes the really thin stuff is behind the counter ... so ask.

Take the fabric you plan to cover it with and cut as many strips (selvage to selvage) and will equal the circumference of the pillow + a smidge extra. For my 1/4" piping, I cut my strips 1 1/4" wide.

Join the pieces with a diagonal seam. For this 18" pillow, I needed only 2 strips.

Trim the seam and press it out.

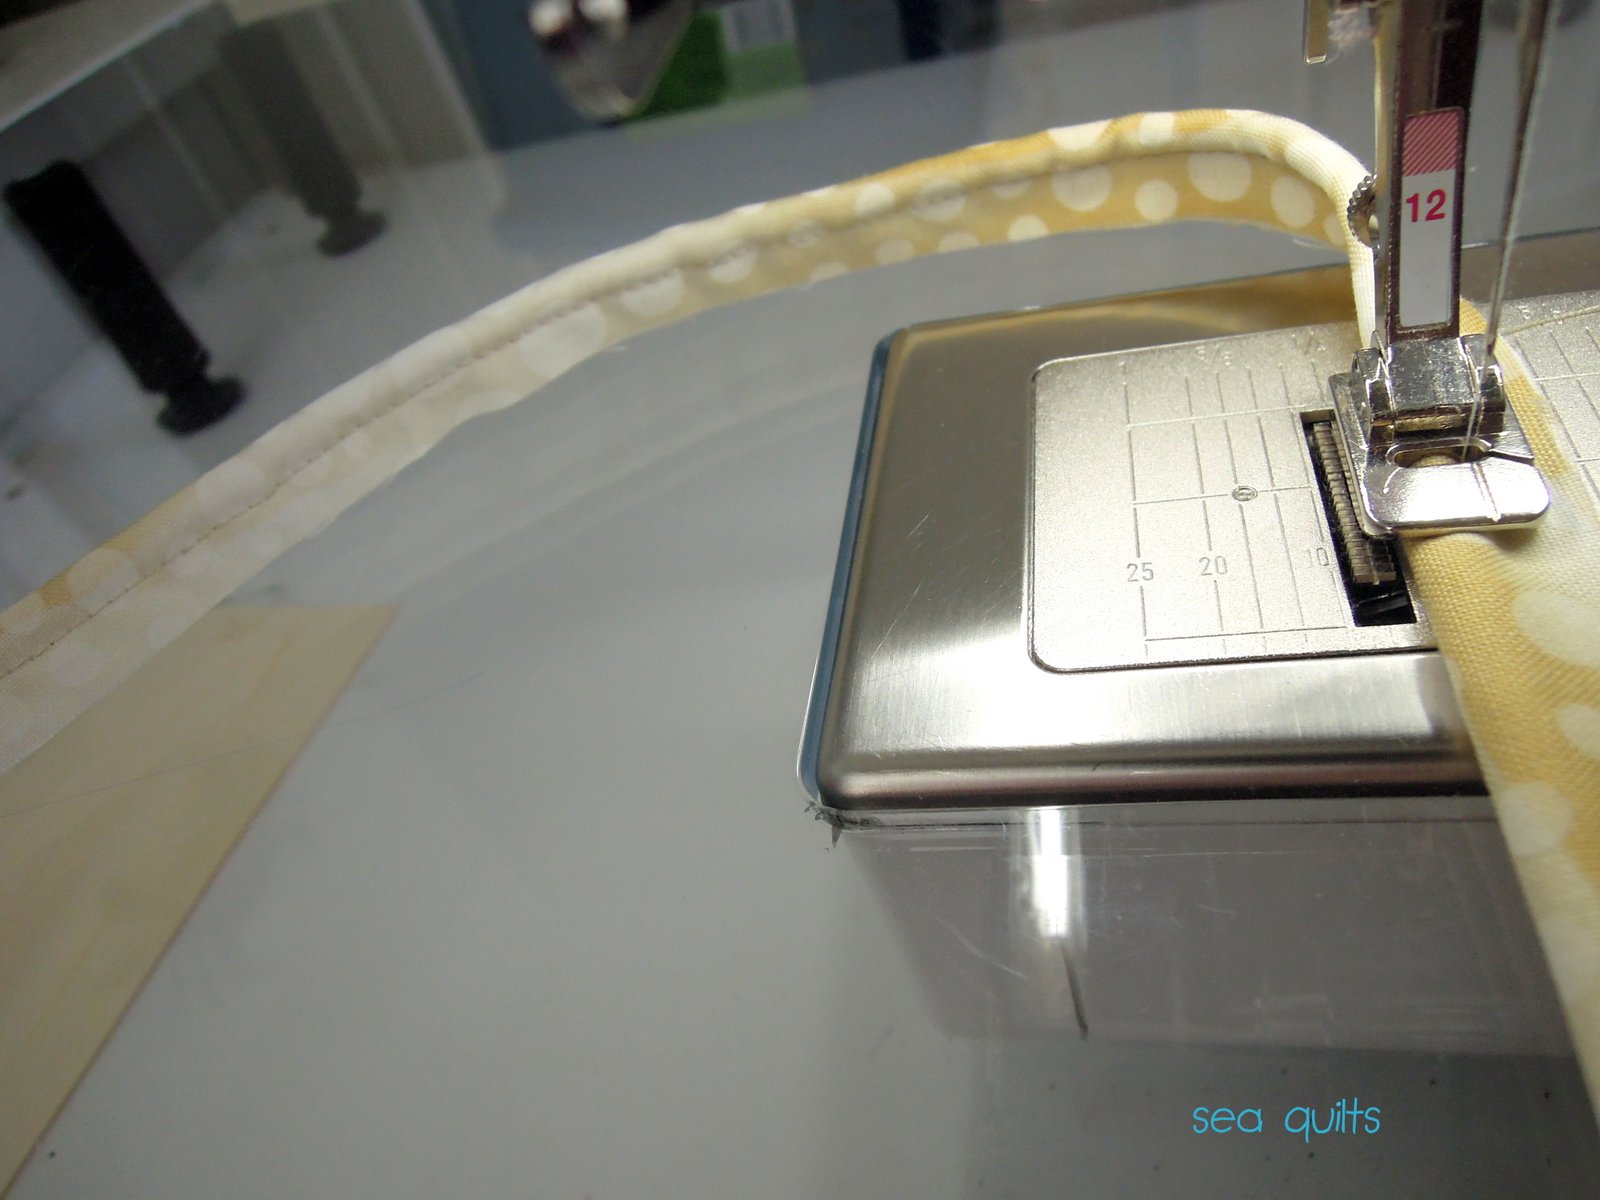
Next is the matter of which sewing machine foot to use. Most people will use a zipper foot, the idea being that you need to sew as close to the piping as possible. My Bernina has this #12 foot, specially made to hold the piping in place while it is being enclosed. No matter what foot you use, make sure to put your needle position to hit the right spot.

Place the cord inside of the strip and fold the strip around so the raw edges meet on the right. You will be looking at the right hand side of the fabric. Start sewing from the top end.
You can use a longer stitch for this, both to conserve time and to keep anything from puckering at this stage.

Your most important job at this point is keeping those pesky right-hand raw edges aligned.

Note that I am not using a giant basting stitch, but it's longer than a regulation one.

Once you are finished covering the piping, you will now join the piping to the front panel of your pillow. Because this first corner involves the joined seams, I like to put it on one of the bottom two corners ... so start there. You will be attaching the piping to the RIGHT side of the pillow top.
Cut several snips into the seam about 1/4" apart. Be careful not to cut into the seam line.

Hold the piping to the pillow top and the corner and form a curve. Keep the raw edges of both aligned. Don't worry if some hangs off the top, you can trim that to meet the edge.

Using the same foot, needle position and stitch length as before, sew around that curve ...

... and keep sewing down the straight side until you hit the next curve.

Stop about an inch before and cut those same snips into the upcoming curve portion.

Keep in mind that your goal is NOT to square off the corner as much as possible. Once the pillow form is in place, the corners tend to "dog-ear" anyway, so feel free to round them considerably.

As you approach the final corner and see the clipped edge where you began ...

... clip the edge of the seam as before.

Now, hold it down so that it curves. You want to cross the other cord at a point that is a direct 45 degree angle line from the corner of the pillow top.

Keep sewing ... going over that bump is not nearly as difficult as it may seem.

Once you have come off the edge, cut the threads and take a deep breath.
The second half of the tutorial (contructing the "slipcover" portion) will be published in a couple of days. I was going to make it into one long tutorial, but apparently Blogger was bored and only allowed me this many pictures.
Thank you for your patience.
Pillows can change your life.

This is a very useful technique. Thanks for sharing
ReplyDeleteThank you for sharing your really amazing tutorial at my Pillowpalooza party!
ReplyDelete:)
Linda