Wednesday, May 9, 2012

~ Quilt Binding Tutorial: Part One ~


For 6 years (2004 - 2010) I taught "Binding ABC's" at The Bernina Connection in Phoenix, AZ.  Of all the classes that I taught, I think it was my favorite because no one in class left without having a huge AHA moment.  As I was binding my Coral Singing quilt, I decided to take pictures as I went and publish them as a tutorial.
Make that ... 3 tutorials. There is a whole lot of tutoring going on here.


In this, the first one, I will show you how to get crisp, square, professional looking corners.
It's SO easy ... I would say "easy as pitching a tent".
Read through and look over all the instructions before getting started:

I do not, I repeat do NOT cut off the 2" edge of backing and binding that surrounds the quilt before I begin. I find that the fuzziness of it keeps everything in line and easier to navigate.

I personally cut my binding strips 2 1/8" wide, which makes a scant 1/4" binding that hugs pretty tight.  I will cut them larger (and take a bigger seam) if I want my binding to play a bigger role in the design of the quilt.

Sew the strips together using diagonal seams and make sure your completed strip is more than long enough.

(Note: My border on this quilt unfortunately contains a 1" strip in the same fabric as the binding.  Do NOT be confused by that in the picture.  Pay no attention to the border ... or to the man behind the curtain!)


Once you have sewn the strips together, cut the seams to 1/4" and pressed the binding in half lengthwise with the wrong sides together, you are ready to begin.

Begin on one of the longer sides of the quilt (if there is a choice) around the middle of that side.  You are matching up the raw edge of the binding piece with the raw edge of the quilt.  Leaving a 10" - 12" lead, start sewing WITH A WALKING FOOT and don't do any backup stitches.
You will note that NO pins are involved.


The walking foot is a must, people ... sometimes expensive ... but absolutely worth it to keep from pushing your binding further along than the quilt.  I took a permanent red marker to mark the 1/4" line on my walking foot to help my eye to keep it right on the edge.


Keep an eye on the fabric as you line it up on the edge.  It's nice to have a teensy-weensy peek at the quilt top.


This is where I find it hand to have the batting keeping things in place, fyi.


About 2-3 inches from the corner, you will build your first "tent".


Pinch the strip together, as shown, keeping the binding strip aligned with the edge of the quilt on both sides.


Test your "tent" by folding it over in each direction.  Each time it should match up with the edge of the binding, as shown.  Both too big (overlapping onto the batting) or too small (showing too much binding underneath) will cause problems.  Play around with it until you get it right.   


With the tent folded towards you, continue to sew your seam until you get to 1/4" from the edge, basically where you hit the fold.  When you do, back stitch a few stitches.


At this point, remove the quilt from under the machine and clip the threads.


Now, flip the "tent" going the other way and start back down the quilt.


Note that this time you are sewing from off the edge of the corner.

Continue this process until you have gone around all four corners, using the same method.


As you round the fourth corner, you will see your old friend ... the original flap of binding that wasn't sewn down. Stop sewing (again with no back stitches because you want to be able to take some stitches out if you didn't leave enough excess) about 10" - 12" from the edge of the first flap, basically leaving you with about 20" in between.

That does it ... you are done with Part One.
Don't. Cut. Anything ... Yet.


Stay tuned for my next two posts:
Quilt Tutorial Part Two:  Join those edges for a smooth, bump-less junction and
Quilt Tutorial Part Three: Sewing the binding down on the back.

I hope this has been helpful.

Let's face it.  Every quilt looks polished with a crisp, polished binding.


Posted by Picasa

Sunday, May 6, 2012

~ Pinning the Blues ~


As with a lot of things, I was rather late to jump on the Pinterest bandwagon.  But ... trust me ... I have made up for lost time.  Most of my pins are rooms ... and most of those rooms have blue in them.  Just a portion of those rooms are living/family rooms.  Here is just a sampling of those:

The blue infused room above pinned from housebeautiful.com 


These rich royals came from coralandcoast.blogspot.com


A symphony in blue from housebeautiful.com 


This room with a blue view from  houseofturquiose.com


These baby blues came from  mollyfreydesign.com


These blue accents came from  completely-coastal.com


These blue bookcases came from  houseofturquoise.com


And last ... but certainly not last ...  these blue stripes came from houseofturquoise.com

If you like these ... visit all my boards over here!
If you repin any of these ... make sure to go to the original source.

What is your pinning obsession?
Posted by Picasa

Wednesday, May 2, 2012

~ A Fishy Story ~


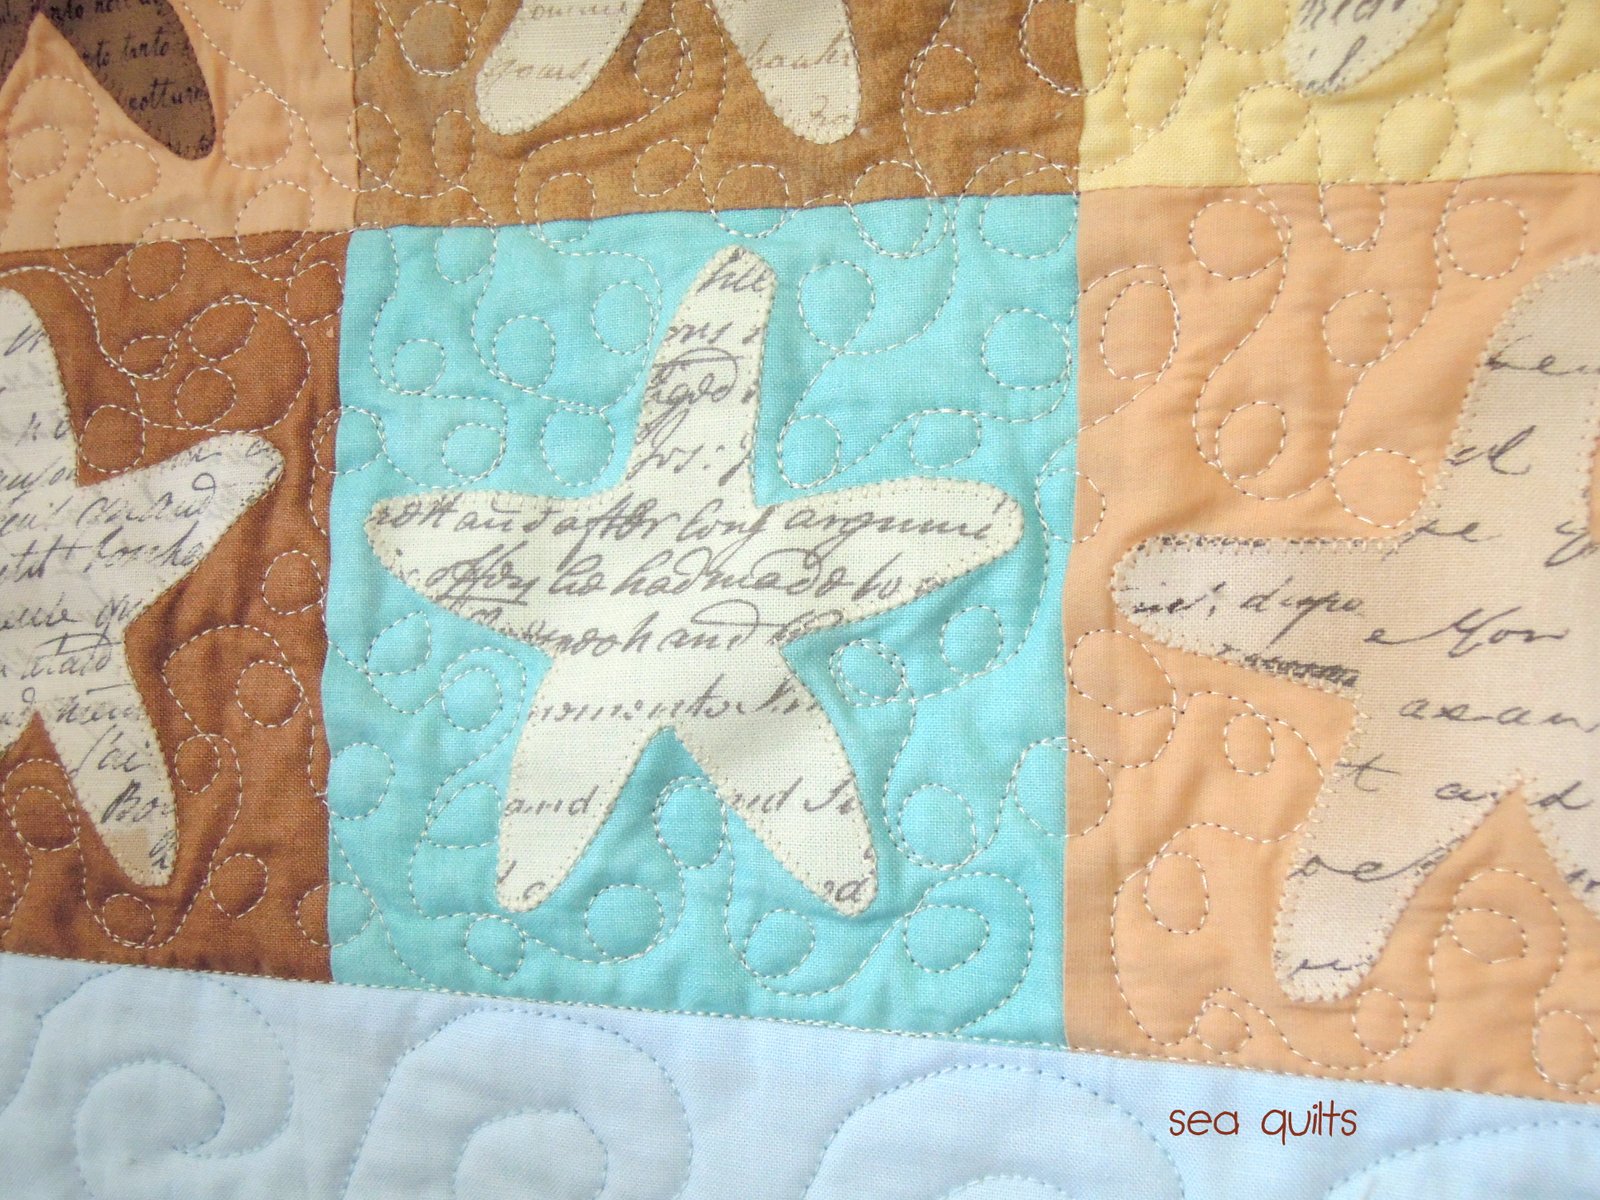
With all the time I spend making quilts, I actually have very few displayed in my home.  I have a fear of overkill, if you get my drift.  However, as of last weekend there is one more Sea Quilt hanging on my walls. And it involved a lot more work and angst than the mere hanging of it, believe me.


What had previously stood on my dresser was a standing mirror. I decided that I no longer wanted to have the mirror there.  The prime function of said mirror was to hide the two large 2x4's on the wall that were left from the previous owners, which they apparently used to hang the world's largest flat screen television. 


Seriously ... there were four (count 'em 4!) bolts holding each of those wood pieces that were each 1/2" in diameter and 5 inches in length.  Removing those took almost as much time as sewing the quilt.  Not quite ... but almost. Then there was much spackling and painting involved.  I always regret later that I didn't take pictures of the process ... but really ... did you want to see that exhausting process?


What truly matters is that I now have some starfish hanging behind my cloche ... that is holding starfish.

I love starfish.


I love how my little stars are reflected in the knob on the top of my cloche, don't you?.

The most exhilirating part of the process was seeing how per-fect-ly my starfish quilt fit the space above the dresser.  Let's just pretend it as part of a master plan all along.

 I am in the process of making patterns of all of my Sea Quilts and hope to have them available by early summer.

Good Idea??
Posted by Picasa

Sunday, April 29, 2012

~ Avast! ~


In what might possibly be one of the greatest bargains of the year ...


I found these darling nautical beach totes.  They are lightweight, they are colorful and they were cheap.


Who cares that they do double duty as a walking advertisement?


They were $.99 a piece.
(Towels not included)

Let's just say I bought more than one.

If this were a contest ... would you vote for my bag as bargain of the year?
Posted by Picasa

Wednesday, April 25, 2012

~ Thread Tutorial ~


After some time off, I am finally adding the borders to my Coral Singing quilt.


I doing a variation of the pattern I designed, seen here.  I just love these borders.


Having already applied the in-between-block borders, I cut my squares for the outer border.


Which bring us to the issue of ... thread.


For years and years I used whatever thread was handy ... and cheap.  Mostly I used threads from the sewing basket I inherited from my mother in the early 80's.  I'm pretty certain that some of the thread in there came from the 50's. 

Retro thread is not nearly as cool as you think.


In 2003 I went to work at The Bernina Connection in Phoenix, AZ.  The very first lesson I learned was that Thread Matters.  I was introduced to Aurifil thread, (seen here on the orange spools) and nearly 10 years later, I am still (possibly) their #1 fan. You see, although Aurifil is 50 wt, like other threads you would quilt with, it is only 2-ply rather than three.  This means that you can't see it in the seams like you do other threads.


I have a kajillion different colors, both solid and varigated because I use it not only for piecing, but for quilting and hand applique.  If I use a heavier thread on the top to quilt with, I still put Aurifil in the bobbin. 
However ... when I am piecing a quilt ... I almost exclusively use this varigated gray which has magical hiding powers.


I use so much of it, I buy it in bulk.  (The $10/spool is a smoking deal because one spool lasts forever ... again the 2-ply characteristic lends itself to more thread on that spool and more thread on your bobbin.)


Make note of this number: 4060.  You are going to want to get yourself some of that.


I pieced. In chains.
I smiled.


I will always be grateful for the opportunity I had to be exposed to every new and wonderful thing in the world of quilting while I worked at BC for seven years before I moved. I have mentioned before that I'm a thrifty girl ... but sometimes thrifty isn't always best.

What's your favorite thread?
What made you smile today?

Linking to:
We did it Wednesday
Wow Us Wednesdays
Allie Makes It!
Posted by Picasa

Monday, April 23, 2012

~ Signs of Spring ~


Baseball. 


Flowers in your hair.
(And Carousels.) 


Flowers on your dress. 


The need for shades. 


Spring Candy Corn.

Signs of Joy? These five fabulous grandkids that I claim as my own.

Happy Spring!

Linking to:
Creative ME!
Posted by Picasa