Wednesday, June 20, 2012

~ Pillow Slipcover w/ Piping Tutorial ~


In conjunction with putting this pillow pattern on my Etsy Shop, I wanted to publish this tutorial on making a pillow slipcover with a piped edge (which will be included as a link in this and other pillow patterns.)  I have made dozens of these.  Why buy a new pillow when you can slipcover an old one for a fraction of the cost? 
The pillow pictured above is called "Coastal Currency".
So ... assuming you have a completed this pillow top, or another of your own design ... or just a some fabulous fabric to cover your pillow ... here goes:

The square you are working with for a pillow top should be 1" larger than the measurement of the pillow form you plan to stuff it with.  The pillow above is for an 18" square pillow and I made the dimensions of the completed top to be 19" square.  If you are not adding piping, then it can measure just 1/2" more.

The piping I work with looks like this.  Because we are planning to cover it then it doesn't need any attached edge.  The point in covering it is that YOU apply the attachment in the very fabric you want.
This piping is 1/4" wide and my personal preference.  The measurements below are to cover 1/4" piping.
This stuff is very cheap.  I recommend getting it at Home Fabrics.  Sometimes the really thin stuff is behind the counter ... so ask.


Take the fabric you plan to cover it with and cut as many strips (selvage to selvage) and will equal the circumference of the pillow + a smidge extra. For my 1/4" piping, I cut my strips 1 1/4" wide.


Join the pieces with a diagonal seam.  For this 18" pillow, I needed only 2 strips.


Trim the seam and press it out.


Next is the matter of which sewing machine foot to use.  Most people will use a zipper foot, the idea being that you need to sew as close to the piping as possible.  My Bernina has this #12 foot, specially made to hold the piping in place while it is being enclosed.  No matter what foot you use, make sure to put your needle position to hit the right spot.


Place the cord inside of the strip and fold the strip around so the raw edges meet on the right.  You will be looking at the right hand side of the fabric. Start sewing from the top end.  
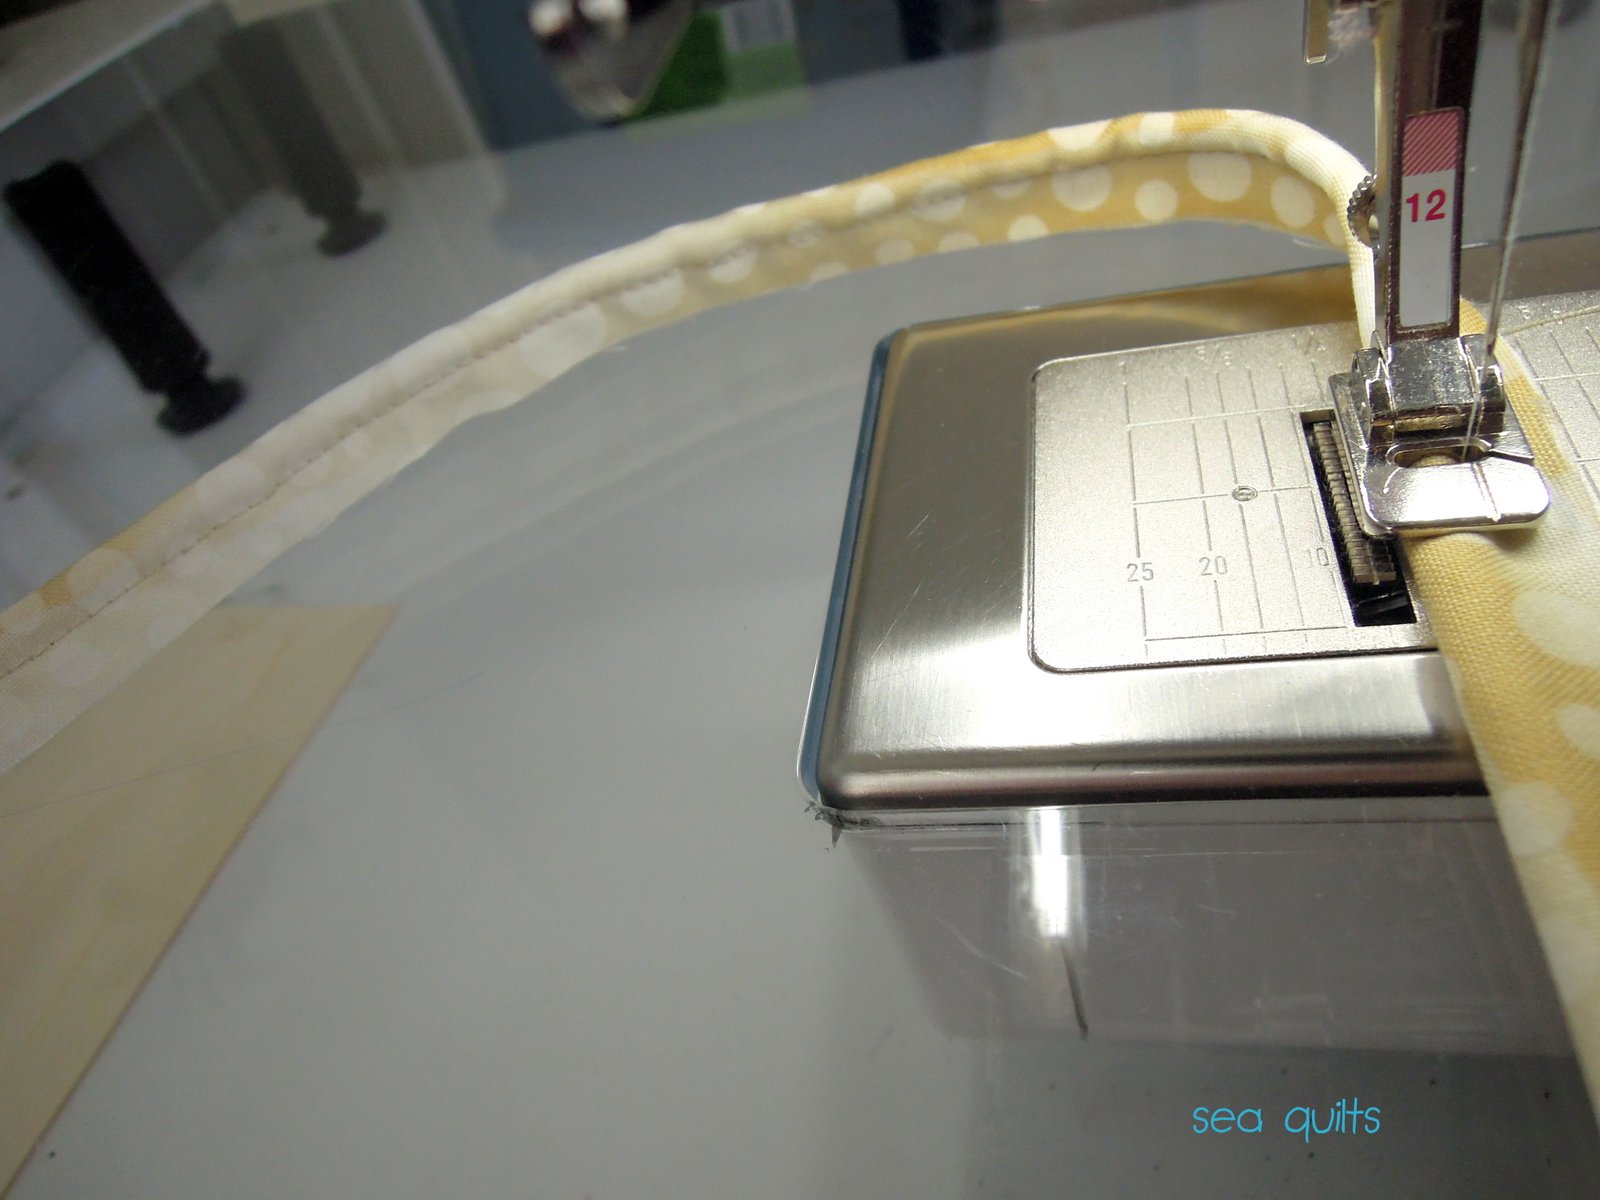


You can use a longer stitch for this, both to conserve time and to keep anything from puckering at this stage.


Your most important job at this point is keeping those pesky right-hand raw edges aligned.


Note that I am not using a giant basting stitch, but it's longer than a regulation one.


Once you are finished covering the piping, you will now join the piping to the front panel of your pillow.  Because this first corner involves the joined seams, I like to put it on one of the bottom two corners ... so start there. You will be attaching the piping to the RIGHT side of the pillow top.
Cut several snips into the seam about 1/4" apart.  Be careful not to cut into the seam line.


Hold the piping to the pillow top and the corner and form a curve.  Keep the raw edges of both aligned. Don't worry if some hangs off the top, you can trim that to meet the edge.


Using the same foot, needle position and stitch length as before, sew around that curve ...


... and keep sewing down the straight side until you hit the next curve.


Stop about an inch before and cut those same snips into the upcoming curve portion.


Keep in mind that your goal is NOT to square off the corner as much as possible. Once the pillow form is in place, the corners tend to "dog-ear" anyway, so feel free to round them considerably.


As you approach the final corner and see the clipped edge where you began ...


 ... clip the edge of the seam as before.


 Now, hold it down so that it curves.  You want to cross the other cord at a point that is a direct 45 degree angle line from the corner of the pillow top.


Keep sewing ... going over that bump is not nearly as difficult as it may seem.


Once you have come off the edge, cut the threads and take a deep breath.

The second half of the tutorial (contructing the "slipcover" portion) will be published in a couple of days.  I was going to make it into one long tutorial, but apparently Blogger was bored and only allowed me this many pictures.

Thank you for your patience.

Pillows can change your life.
Posted by Picasa

Saturday, June 16, 2012

~ Breathing Room ~


This last week I discovered a brand new room in my home.  It's called "My Office".  Previously my office was part of another room called "TheOffice/Studio/Room O'Chaos/Mess".

The picture above is the only one I could find of the old set-up.  The office portion is over to the right where my computer sat on a teeny-weeny corner of my quilting table and where the paperwork/office supplies/lessons/patterns constantly spilled over onto the cutting table. 


This is my view from my sewing machine now.  Only my relatively flat lightbox sits on the corner of that table now.  Its former home was in the hall.  The printers are no longer under the table.  Until a couple of weeks ago, the only way to access my color printer was on my hands and knees.
True story.


This is my office space now.  The table and other organizational shelves/drawers were all just sitting in my garage, begging to be given a (spacious) home.

I cannot tell a lie.  This space was created because I took out one of the two twin beds that had been in the guest room.  The bed that is left will be replaced by a bunkbed in time, so that no guest accomodations will have been officially sacrificed.


The laser printer sits on the table and requires no scooting and no bending.


I did purchase 2 lovely baskets (from Ross ... and yes, they were cheap) that are the exact same lovely aqua color as the walls.

I. Am. Giddy.


The new color printer/scanner (the old one bit the dust before any of this process started) sits behind me.  Because it wasn't 6 years old like my last one, it can be accessed via WiFi and doesn't need to take up valuable desk space.


My precious pattern files fit perfectly into my other new basket. Each file represents one of my eight quilt patterns on Etsy.  Soon there will be nine.

Thank you to Daughter #1 who suggested this idea.
Thanks to Daughter #2 and her handsome hubby who did all the heavy lifting to make this possible.
Thanks to all four of my children for lying by saying they don't care if they have to sleep in a bunk bed.

And thanks to YOU for listening to this incredibly boring story.
And for being happy for me anyway.

Posted by Picasa

Saturday, June 9, 2012

~ Beach Brights ~


I went to the beach this week.
Oh yeah.
I spend a lovely afternoon in the shade of these colorful umbrellas with my uber-talented artist friend
Kelley ... aka Glamma Fabulous.


We discussed everything under the sun.
And in the shade.
We dipped our toes in the salty water and our hands in the bag of cookies.
It was all very colorful.


While downloading my pictures, I came across this one from over a year ago.
Different SoCal beach.  Same lively colors.


Then I started searching and found these from a NoCal trip in the summer of '10.
On the boardwalk in Santa Cruz.


Just when you think that beach and coast and sea are synonymous with cool, calming colors ...

Think again, my friend.
 
Posted by Picasa

Saturday, June 2, 2012

~ Developing Patterns ~


After 3 years of designing, sewing and dreaming ...


About 2 months of serious thought and research ...


1 evening with one of my daughters and her supreme computer know-how ...


  1 week of excrutiating labor and 1 new printer/scanner ...


I am officially launching my Etsy Shop where patterns for each of these 8 quilts are currently for sale.

You can find me at SeaQuiltsShop.etsy.com.

I cannot thank you enough for all the encouragement and interest in my work that you all have given me.


But ... I'll try.

Posted by Picasa

Tuesday, May 29, 2012

~ A Wallpaper Weekend ~


My Memorial Day Weekend involved two plane flights and a lot of food that was NOT good for me.
It also involved a DIY project at my daughter's new home.
And as a result ... it involved Amy Butler.


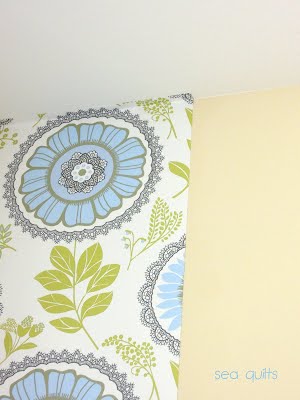
All of the walls in this room were painted a peachy beige, so the first thing we did was paint the other three walls white.  You know I love white.


Then we applied this to-die-for paper by Amy, called Lacework - Moss.


Oddly enough, it was the kind of paper where you actually put paste on the wall first making it significantly more difficult.

But still worth it.


Please understand that my role in this whole thing was to hand Ms. G things as she needed them.  I did play a slightly more significant role in the painting process.

Apparently, I am really good at handing people things.


This room (once the bed frame has an actual ... bed ... attached to it) will be the guest room ... which I like to call "my room".

I daresay that there will be many more of those same flights (or drives) in the future.

Do you blame me? 
Posted by Picasa